
Have you ever seen an object in the distance, lifted binoculars to your eyes, then took forever to find it? This is the issue that plagues me (and most likely others) when photographing birds in fight (BIF). A magnified view, like in binoculars, has a narrow field, which makes finding your subject a challenge. Small movements are amplified, causing further disorientation. The higher the magnification, the more difficult it is to align the optics with your subject. Typical binoculars are 8x or 10x, while a zoom lens can push over 30x. If the subject is sitting still, there is time to get a good photo. With a flying bird, you might have a second or two to get the shot. Many times, I have failed to get the bird in frame before it is gone.
Things I have tried
Some photographers say that with practice, you will become proficient at photographing birds with an electronic viewfinder (EVF). I don’t doubt them, but with my glasses, old camera, and poor vision, I either cannot find the bird, or see it long enough to watch it dart across my viewfinder. This approach has been very frustrating. I’ve also tried using my hot shoe as an aiming device, but it was hit or miss; mostly miss.
One approach that gave me some results was to manually focus at a fixed distance, zoom out for a wider field of view, and spray and pray when a bird flies by at the right distance. I was able to get an image of this fast moving green and violet swallow this way.
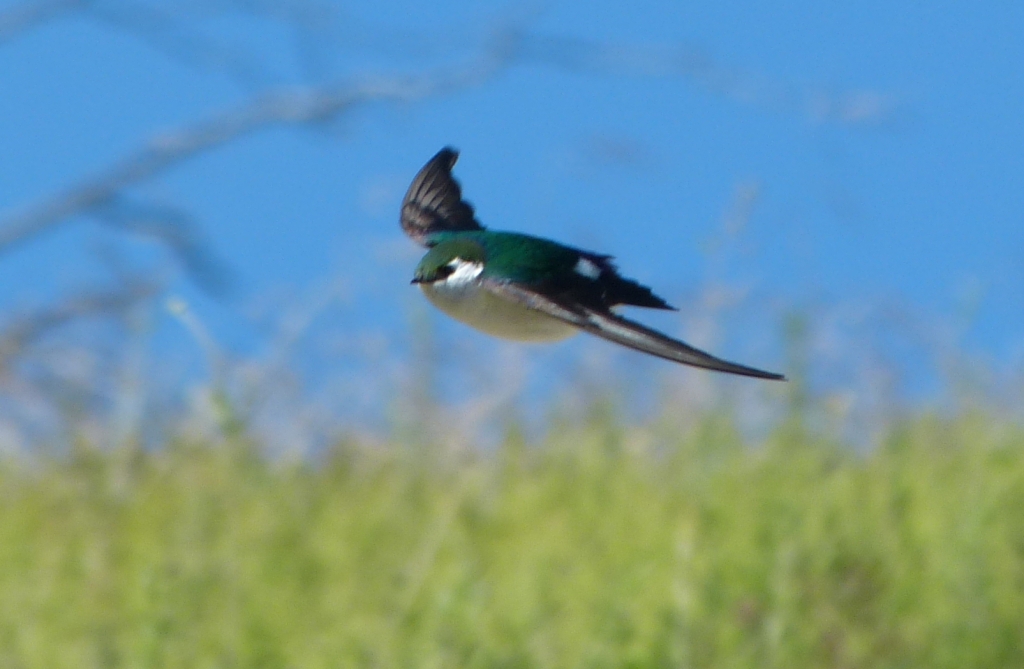
I just aimed the camera by feel, without sighting (use the force, Luke). Needless to say, the throwaways far outnumbered the keepers. There had to be a better way.
The Unity Sight
“Unity” refers to the 1x power of non-magnified sights. It is aligned to the barrel of the camera, so you get the best of both worlds: easy pointing with the naked eye and high magnification for the photograph. Iron sights have been used to aim guns for centuries, with modern red dot reflex sights becoming popular in the last few decades. These are now making their way onto cameras. Nikon sells one that costs over $150 to mount in the hot shoe of your camera:

Looks nifty, but I tend to eschew items that are expensive, complex, and require batteries.
The ghost ring sight
The ghost ring has been used on guns for many years. It consists of a ring in the rear, and a post at the front. The sight is aimed by looking through the ring and centering the subject on the tip of the post.

This is easier to use than it seems. Your eye naturally focuses at the center of the ring, so it is very quick to point the post at the bird. A realistic implementation would have the ability to adjust the components up, down, left, or right to align with the barrel of a gun or camera lens.
The Clip-O-Matic Unity Sight (COMUS)

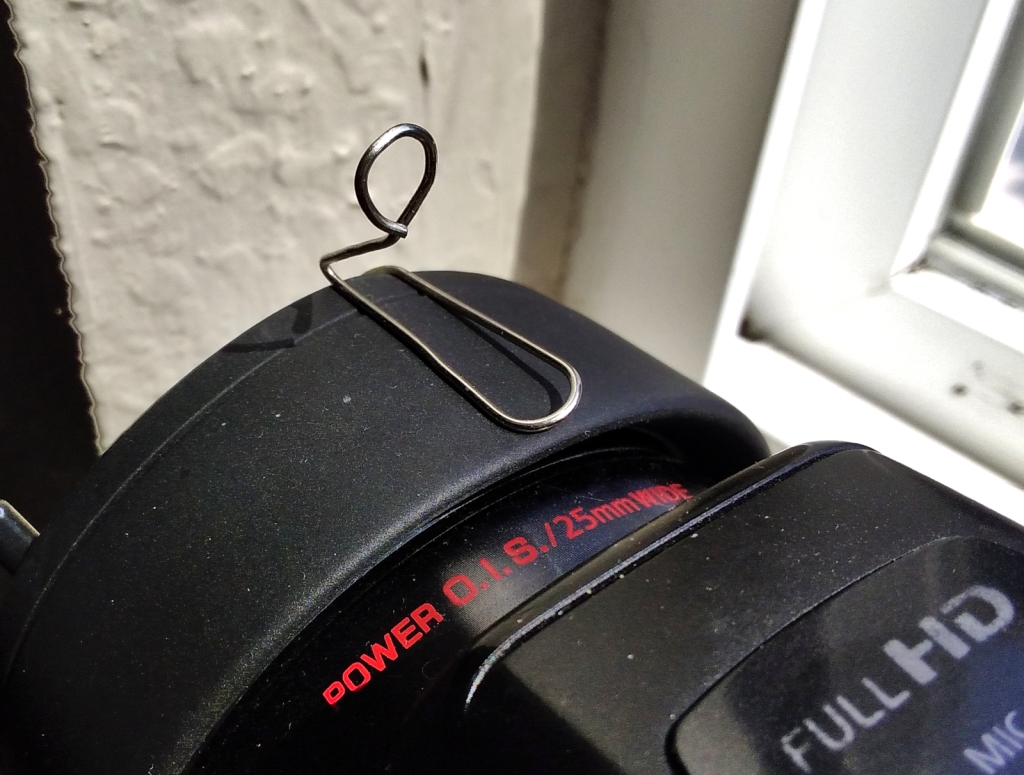
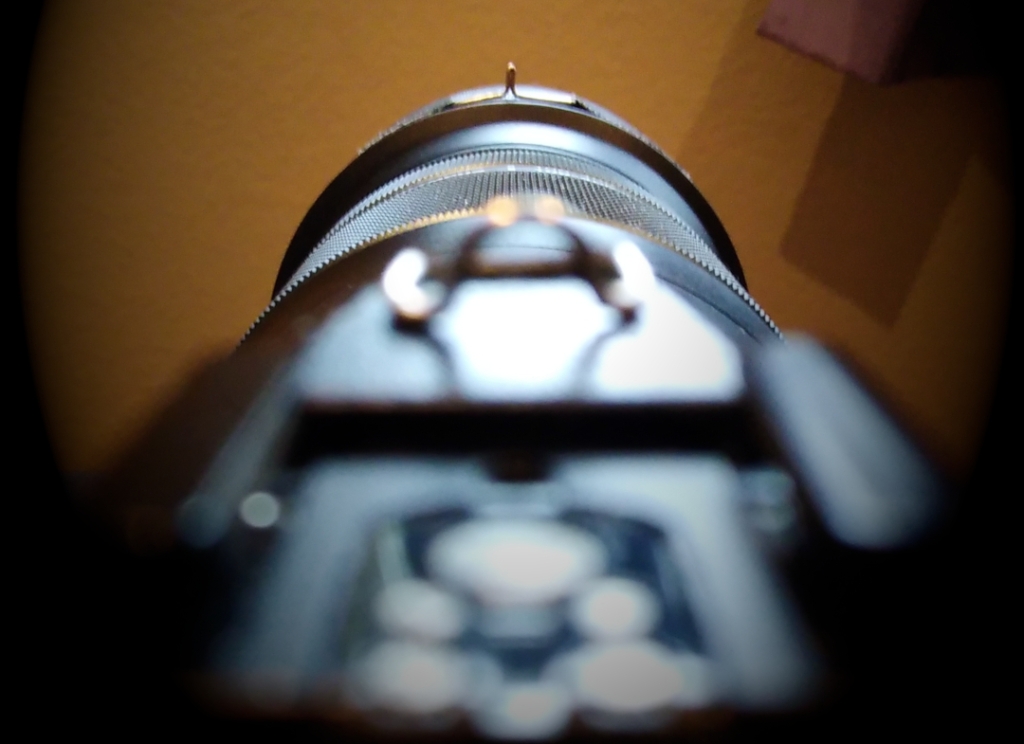
Being a cheapskate and tinkerer, I came up with a quick and dirty ghost ring sight for my camera. It is made out of two paper clips bent using needle nosed pliers. I also needed diagonal cutters to trim the ring component. The ring clips into my hot shoe and the post clips onto my lens hood.

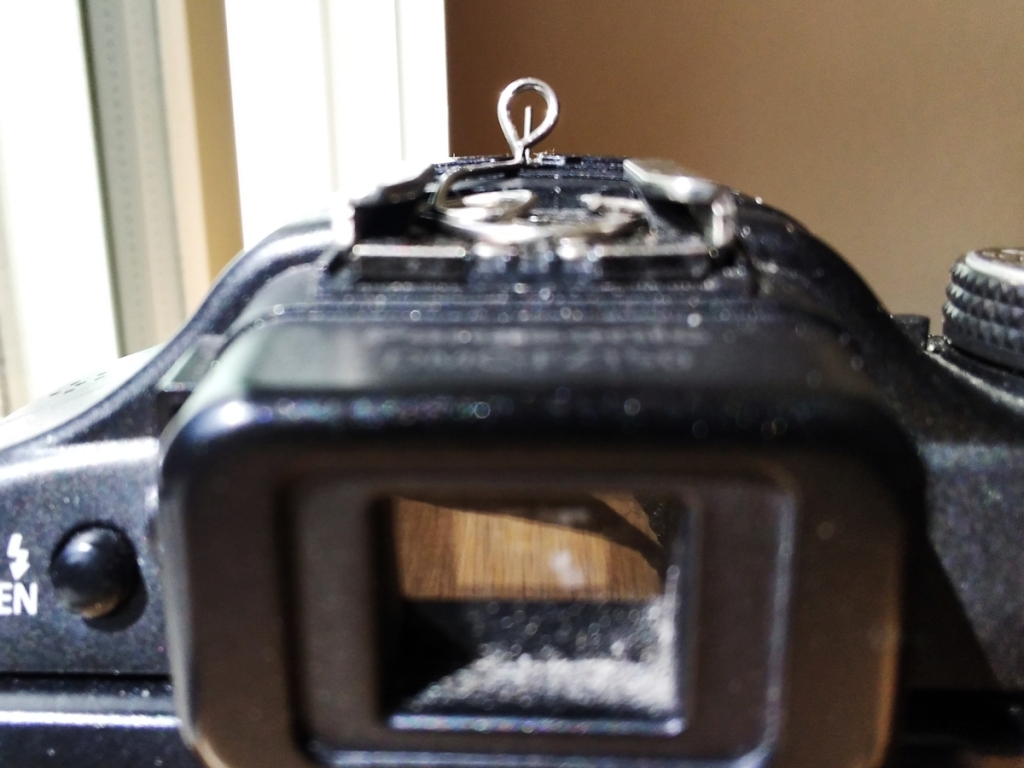
Here are the paper clip bits on their own, so you can better see how they were bent.

To adjust the sight, simply slide the post left/right on the lens hood or bend it up/down. The basic procedure is to zoom all the way in, center a distant object in the viewfinder, then adjust the sights to match. To fine tune, take a photo using only the sights, then make small adjustments until the subject is centered in the photo. Once you get used to this, it should take only a minute or two to get sighted in.
After sighting in, I set the shutter speed, based on how much light there is. For birds in flight, I prefer to be at 1/1000 or faster. My ISO is set to auto with an upper limit of 400. Aperture is automatically set because I shoot shutter priority. Then it’s time to hope that a bird flies by.
Results
So, does COMUS actually help? For me, it is a definitive YES. I get flying birds in frame much more often by using the ghost ring sight. Here are photos of western scrub jays gliding past.
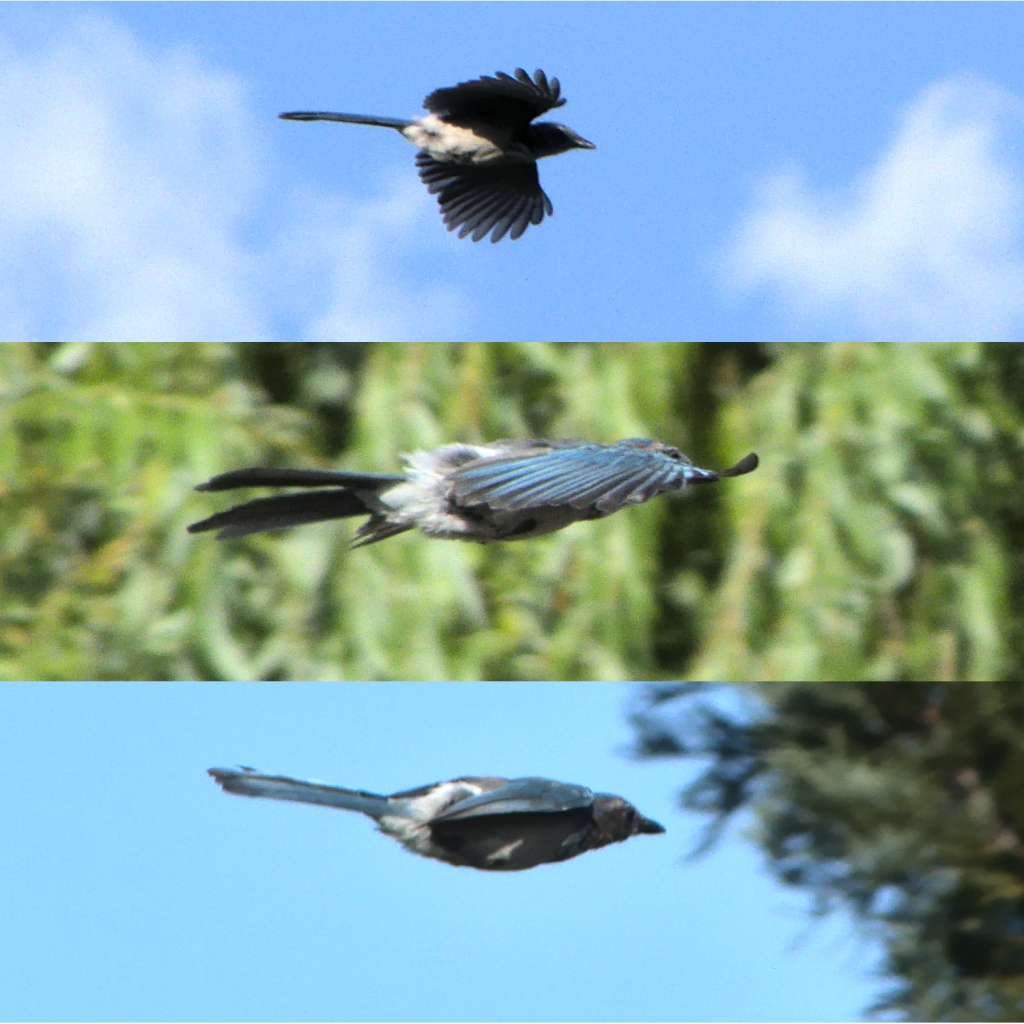
These are hard shots to get because 1) the jay is a small, fast bird, 2) they are dropping off a high perch, so the flight path is parabolic, not straight. It is much easier to track with the naked eye using ghost ring sights.

A crow is a larger, slower bird, but this one happened to be very close, which made it appear to move faster. I would probably have missed this shot using the viewfinder.
Shortcomings
COMUS gets easily knocked/bent out of alignment, especially during transport. Every time I use it, I verify alignment so I don’t miss a shot. If I accidentally bump it while walking through the woods, I need to check it again. It can get tedious. However, when it works, it’s a wonderful thing.
I will probably work on a version 2, one that has a proper hot shoe mount, is easily adjustable, and more robust. Something similar to a mount for a telescope finder scope.
Front Sight 2.0
Inspired by recurve archers, I tested a front sight with a ring, instead of a post.
At first, I thought I could just use this without a rear sight, but I missed too many shots. Therefore, I am using this ring front sight in conjunction with the original ring rear sight. So the sight picture now looks like this when taking a photo:

The advantage of this combination is that it is faster to center a subject inside a ring. Also, the ring will not snag as easily as the post does on fabrics. However, it is less intuitive to use compared to the ring-and-post combination. It’s easy to disregard the rear ring, because the front ring is more in-focus. I need to remind myself every time before pressing the shutter. Perhaps, with practice, this will become second nature. Here is a shot of a red-tailed hawk I got using this sight:

Please note, the front ring is slightly larger than the rear ring, because it is further from the eye. My front ring has a 6mm diameter, while the rear ring has a 4mm diameter. You will probably have to experiment to fine tune this for yourself.
COMUS v2.0
I graduated from the point-and-shoot Lumix to an Olympus micro 4/3 camera (to be discussed later). I created a new version of this sight for my new camera.
Here is the front sight. It is taped onto the lens cap of my telephoto lens with gaffer tape. It is aligned with the “P” in JAPAN to center it. The height of the front sight is important, because it dictates image centering on the vertical axis. Given the radius of the lens cap, my sight is about 4mm tall. The dashed red lines show the shape of the front sight. This sight is like a needle, so I had to add a sheet of plastic to protect the interior of my camera bag.

The rear sight is more complex; I bent it to hug the front, rear, and sides of the faux pentaprism viewfinder on the camera body. I went to these lengths so that it would not shift once it was taped down. It is shown without mounting tape so you can see its shape.

Here is a view of both sights together. Because of the length of the telephoto lens, the increased sight radius eliminates the need to align the sights. I just take the camera out of its bag and start shooting. The sights will get the subject in frame every time, even with 800mm equivalent focal length.
Here is a shot I took using these sights. A northern harrier made a close fly-by. I had a couple of seconds to capture it. I quickly lined up the sights and pressed the shutter button; luckily the autofocus latched onto the bird. There was no time to look through the viewfinder.

Other considerations
Getting your subject in frame is but one of the factors needed to get a good BIF image.
Autofocus – Once the bird is in frame, the camera needs lock focus on it. A uniform background, like a clear sky is a big help, while a complex background with trees, rocks, and shadows challenges all but the best cameras. My old point-and-shoot camera struggles with this, and I end up with blurry images more often than not.
Pre-focus – To help any camera get the shot, prefocusing is a best practice. If I am setting up for a shot expecting a bird to fly across 50 feet away, I will focus on something 2/3 or 1/2 the distance, so the camera can quickly focus on the bird when it appears. The danger of focusing too far away is the camera will need to rack all the way out, then all the way back in to start over. It simply takes too long.
Shutter speed – A fast shutter speed will freeze the wing action of the bird and negate motion blur induced by hand holding. I usually shoot shutter priority and use 1/1300s or faster. Of course, this requires bright sunlight, which makes me thankful to live in California.
Aperture – Some photographers recommend using a slow aperture, like f/8, for BIF. The idea is to get a greater depth of field, which will make it easier to focus on the bird. Using a camera with a small 1/2.3″ sensor, I cannot use f/8 and a fast shutter speed without using a high ISO. To avoid excessive noise, I limit ISO to 400, which usually means I shoot wide open to get a decent exposure.
Positioning – Where I live, the wind comes from the direction of the setting sun. Having the sun and wind to my back is an advantage because birds tend to fly into the wind (towards me) and I get good light for my photo. Also, birds flying upwind are slower, allowing more time to get a good photo. Finding a spot where birds will fly by with good lighting takes observation and experience.
Burst mode – I always shoot bursts in hopes that I get at least one good shot. My camera shoots 5.5 images per second while refocusing for each shot. It is possible to focus only on the first shot, and fix focus for subsequent shots, but I cannot trust my camera to nail focus reliably on the first frame.
Conclusion
At this stage of my experience, I find a unity sight to be a big help for BIF photography. I wasn’t sure how good autofocus was on my camera, so COMUS has helped me determine its limitations. When I get a new camera I will test it again with this type of photography. Hopefully it will be worth the extra money.
